
I created these signs for my craft fair booth recently, and I am just so proud of them. I thought people might like to see how I made them.

This tutorial is written for Adobe Photoshop CS5 on a Mac, but it should be pretty easily translatable to other programs and operating systems. For Windows, the keyboard shortcuts should work by replacing "Command" with "Control."
First off, download a picture of a blank chalkboard background. You can find them easily by doing a Google image search, but here is where I got mine. So, here's what you'll start out with. (Click on the images to enlarge.)

Next, you'll want to crop the picture to the size you want. Select the crop tool,  and set the dimensions to the size you want your sign to be. I suggest setting the resolution to at least 200 pixels so the sign will print nicely.
and set the dimensions to the size you want your sign to be. I suggest setting the resolution to at least 200 pixels so the sign will print nicely.
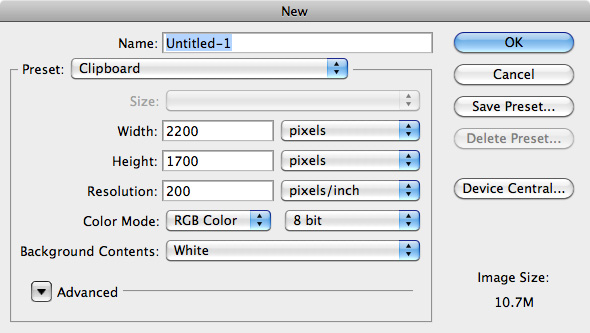
Crop the picture. Use as much of the original picture as possible. The tool should snap to the edges for you if you drag it outside. Next, press Command+A to select all and Command+C to copy. Go to File > New to open a new file. The dimensions will be set to the dimensions of the image you just copied. Make sure the background color is set to white.
Press Command+V to paste the image onto the background. Make sure it pastes in a new layer. You should have a white background, and your blank chalkboard image above it in the layers menu as Layer 1. Next, select your text tool.  I used the font KG Flavors & Frames. There are 5 different versions of this free font, so you're sure to find a frame you like. The frame I used is the lowercase b. You'll need to play around with the font size and horizontal scale until you get it to the size you need. Here's what I used.
I used the font KG Flavors & Frames. There are 5 different versions of this free font, so you're sure to find a frame you like. The frame I used is the lowercase b. You'll need to play around with the font size and horizontal scale until you get it to the size you need. Here's what I used.
Your image should now look something like this.

Make sure the text layer is selected, and then select the magic wand tool. Click on the areas of the image not covered by the frame. Hold down Shift while clicking to select more than one area at once. With the areas outside the frame selected, go to the Layers window and select the chalkboard layer.
Click on the areas of the image not covered by the frame. Hold down Shift while clicking to select more than one area at once. With the areas outside the frame selected, go to the Layers window and select the chalkboard layer.
Press delete to erase those areas of the chalkboard image. Then, right click on the text layer in the Layers menu, and click Delete Layer.

Now, your image should look something like this.

If you'd like, make sure the chalkboard layer is selected in the Layers menu, click the paint bucket tool  and fill the area between the outside and inside of the frame with the color of your choice.
and fill the area between the outside and inside of the frame with the color of your choice.
Finally, we can add the text. I used DK Carte Blanche, bolded, at the top and Dazzling Divas on the bottom. Note that DK Carte Blanche does not include numbers. For some more ideas of fonts to combine, check out some of these posts.


